Before you start
- Clean it first: wash it, vacuum it and clear out everything that is not part of the car.
- Pick the light: an overcast day, or early morning and late afternoon, gives soft even light. Harsh midday sun throws hard shadows and reflections.
- Pick the spot: an open, tidy background such as a quiet street, a park or a plain wall. Move away from bins, other cars and clutter.
The shots every buyer looks for
- Front three-quarter: the front and one side together, from about a car length away. This is your first photo.
- Rear three-quarter: the same from the back corner on the other side.
- Side on: both sides, the whole car in frame.
- Front and rear: straight on, at headlight height.
- Dashboard: with the engine running, so the kilometres and any warning lights are visible.
- Front seats and back seats: from the open doors.
- The boot: open and empty.
- Wheels and tyres: a close shot of one wheel shows the tread and the rims.
- Under the bonnet: a clean engine bay reassures buyers.
- The service book: open to the stamps.
How to hold the phone
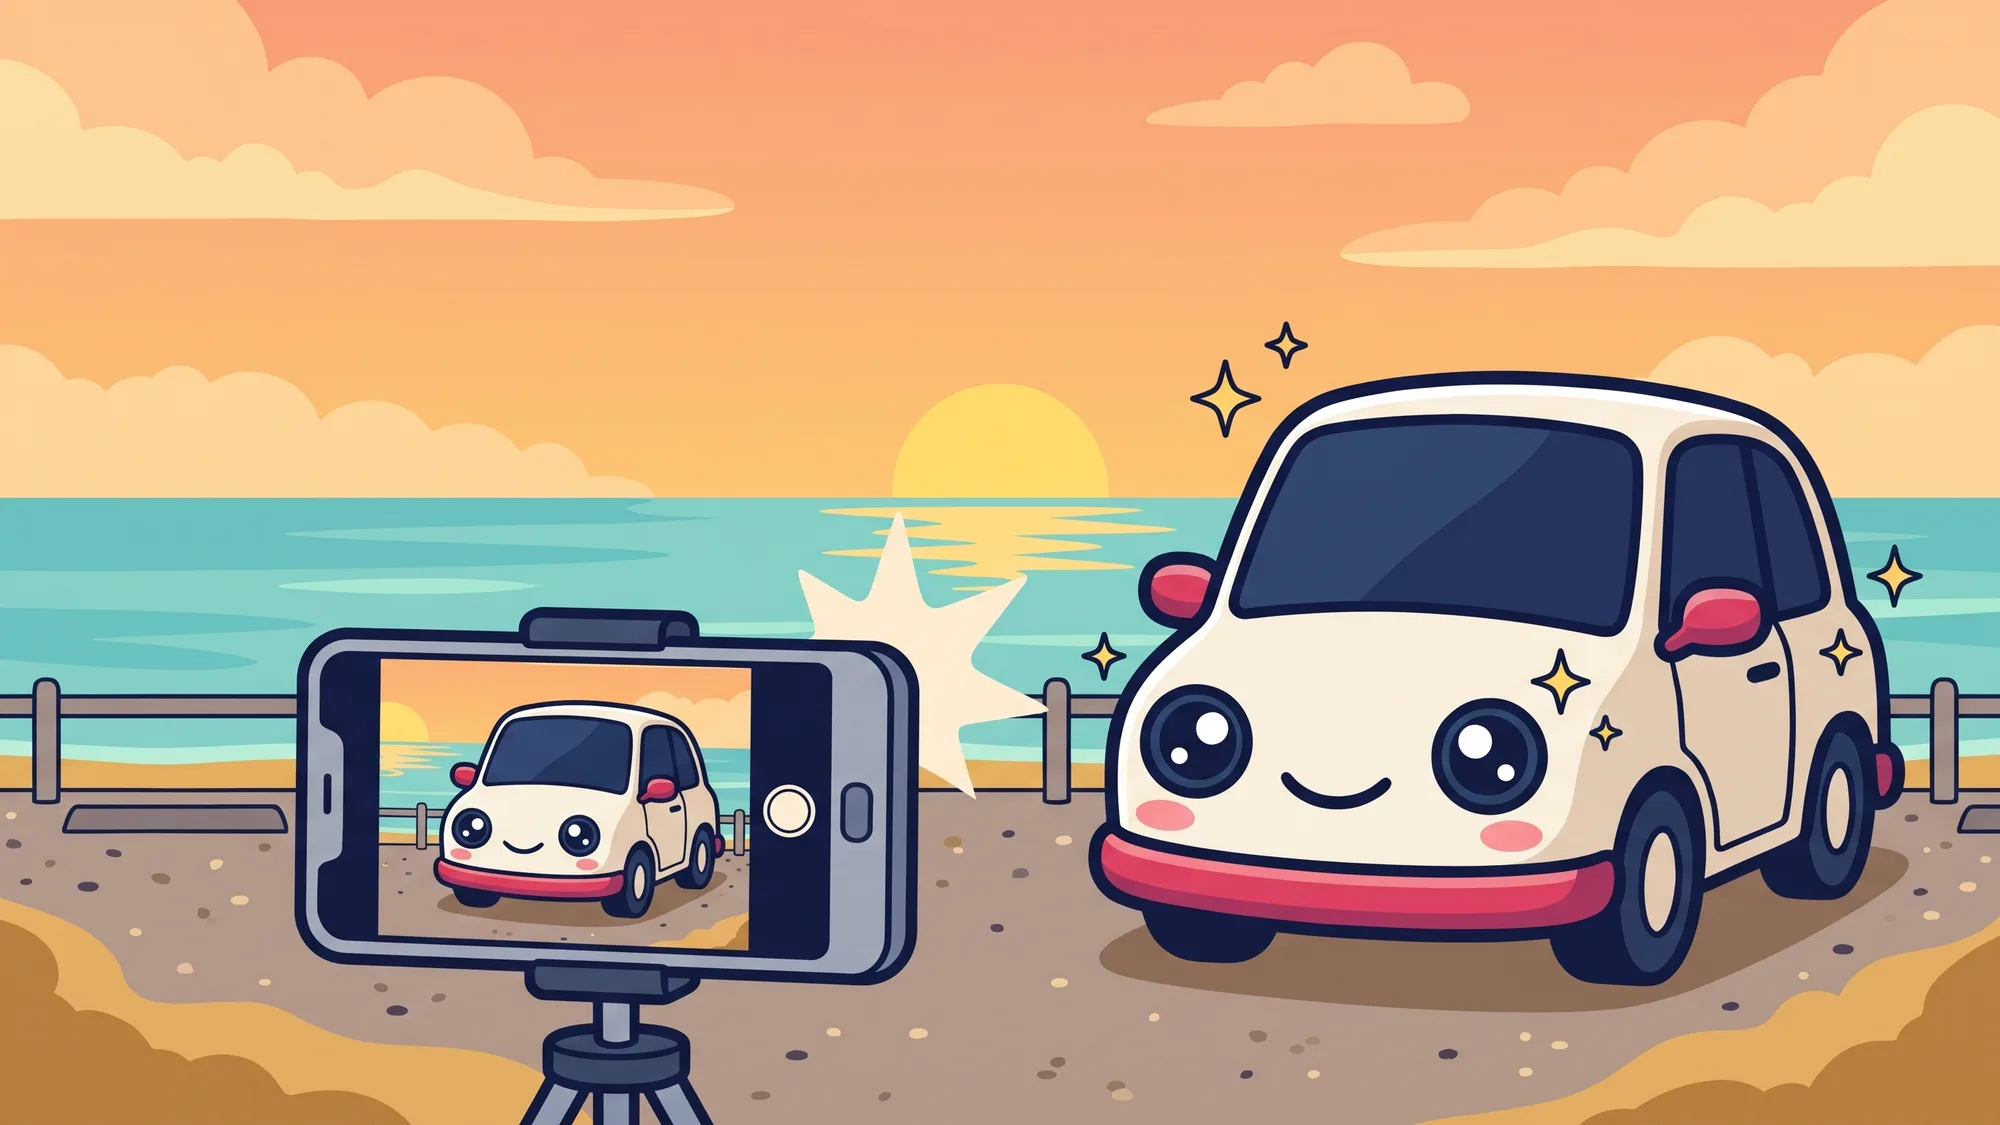
- Landscape, not portrait: listings show photos wide, so turn the phone sideways.
- Crouch a little: shoot from about headlight height. Shots from standing height make a car look small.
- No zoom and no filters: walk closer instead of zooming, and keep the colours true. Buyers want to see the real car.
- Wipe the lens: a smudged lens makes every photo look hazy.
Show the flaws too. A buyer who finds a scratch you did not photograph starts wondering what else you left out.
Order them well
Put the front three-quarter first, because that is the photo buyers see in search results. Follow it with the outside, then the inside, then the details. On CarListing you can drag photos into order before you publish.